GET $20 CREDIT TODAY! CODE 20NOW learn more


3 Effective Methods to Repair Walls with Holes from Photo Frames
Photo frames can add a touch of personality and warmth to any room, but the aftermath of hanging them isn’t always so delightful. Those unsightly holes left behind can be a real eyesore, but fear not! With the right tools and techniques, repairing these holes can be a breeze. In this blog post, we’ll explore three effective methods to fix walls with holes from photo frames, helping you restore your walls to their former glory.
- Patching with Spackling Compound: One of the most common and straightforward methods for repairing small to medium-sized holes in walls is by using spackling compound. Here’s how you can do it:
- Start by cleaning the area around the hole to remove any dust or debris.
- Apply a small amount of spackling compound to the hole using a putty knife or a similar tool. Make sure to fill the hole completely and smoothly.
- Once the compound is dry, usually within a few hours, sand it down gently until it’s flush with the wall surface.
- Repeat the process if necessary for a smoother finish.
- Finally, paint over the patched area to match the rest of the wall, and your repair job is complete!
- Using a Wall Repair Kit: If you’re not confident in your DIY skills or prefer a more convenient solution, consider using a wall repair kit. These kits typically contain all the necessary materials and instructions for repairing small to medium-sized holes quickly and easily. Here’s what you’ll typically find in a wall repair kit:
- Self-adhesive mesh patch: This patch provides a strong foundation for the repair.
- Spackling compound: Similar to the standalone spackling compound method, this is used to fill the hole and create a smooth surface.
- Sandpaper: For sanding down the dried compound.
- Putty knife: For applying the compound and smoothing it out.
Follow the instructions included in the kit for best results. Wall repair kits are widely available at hardware stores and online retailers, making them a convenient option for DIY enthusiasts of all skill levels.
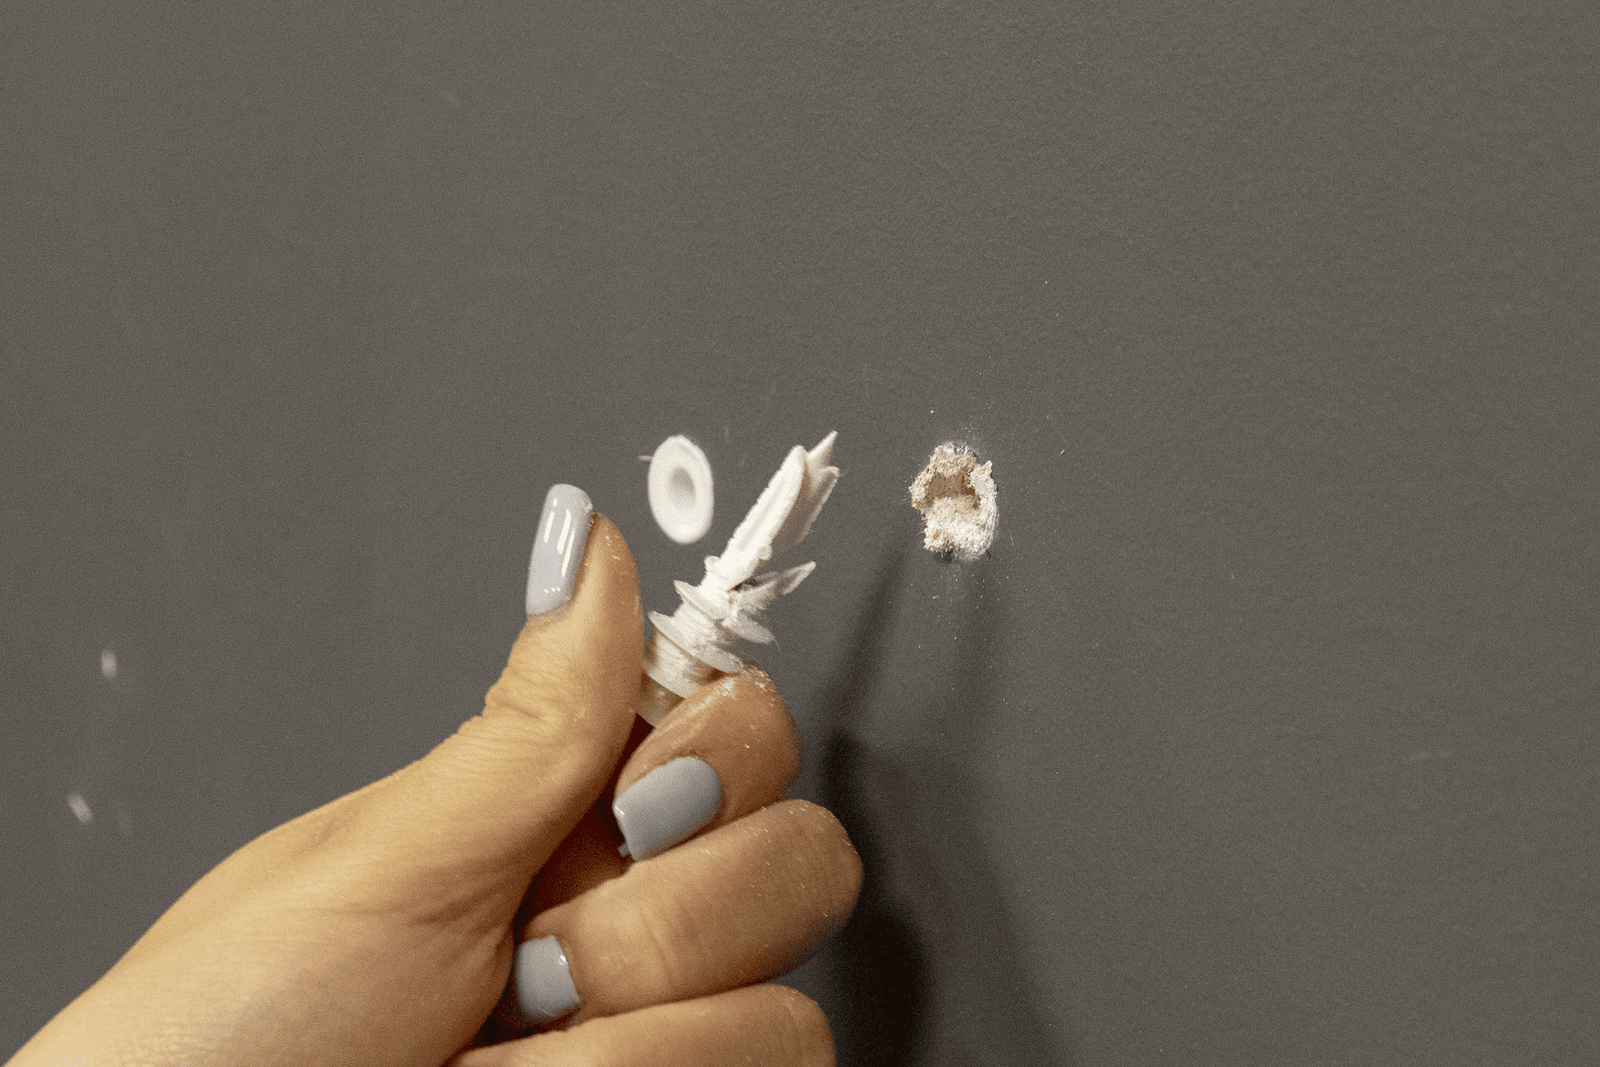
- Installing a Drywall Plug: For larger holes or instances where the wall’s integrity has been compromised, installing a drywall plug may be necessary. Here’s how to do it:
- Start by cutting a square or rectangular hole around the damaged area using a drywall saw.
- Cut a piece of replacement drywall slightly larger than the hole and insert it into the opening.
- Secure the replacement drywall in place using drywall screws.
- Apply joint compound over the seams and screw heads, smoothing it out with a putty knife.
- Once the compound is dry, sand it down until it’s smooth and flush with the rest of the wall.
- Finally, paint over the repaired area to match the surrounding wall.
While installing a drywall plug may require more time and effort than other methods, it’s a reliable way to repair larger holes and ensure a seamless finish.
Repairing walls with holes from photo frames doesn’t have to be a daunting task. By following these three effective methods – patching with spackling compound, using a wall repair kit, or installing a drywall plug – you can restore your walls to their former glory with minimal hassle. Whether you’re a seasoned DIY enthusiast or a novice homeowner, these techniques will help you achieve professional-looking results and maintain the beauty of your living space. Say goodbye to unsightly holes and hello to a flawless wall surface!
Please login to post a comment.